
The extruder screw and barrel are the heart of any extrusion or injection molding system. Over time, screws need to be removed for maintenance, cleaning, repair, or replacement. However, improper removal can cause severe damage to both the screw and barrel, leading to costly downtime.
This guide explains how to remove an extruder screw from the barrel safely and efficiently, based on industry best practices.
Why Screw Removal Is Necessary
You may need to remove the screw from the barrel for reasons such as:
- Routine cleaning (carbonized resin buildup, color changes)
- Repair or replacement of worn screws
- Barrel inspection for wear, scoring, or corrosion
- Changing screw design for different processing needs
According to Plastics Technology, proper screw and barrel maintenance can extend their service life by 20–30%, reducing downtime and replacement costs.
Tools and Safety Precautions
Before starting, prepare the following:
- Protective equipment: gloves, goggles, heat-resistant clothing
- Lifting tools: screw puller, crane, or hoist (depending on screw size)
- Cleaning tools: brass scraper, copper wire brush, approved purge compound
- Wrenches, torque tools, and alignment devices
⚠️ Safety First: Screws and barrels retain heat for a long time. Always ensure proper cooling or use thermal-resistant gear when handling.
Step-by-Step Process to Remove Extruder Screw from Barrel
1. Shut Down and Prepare
- Stop the extruder operation and switch off power.
- Disconnect heaters, thermocouples, and control wiring.
- Allow the barrel to cool slightly but keep it warm (around 120–160 °C) to ease screw removal.
2. Purge the Barrel
- Use a purge compound or a low-viscosity resin (e.g., HDPE) to push out residual melt.
- Run the screw until no material remains inside.
3. Remove the Die Head or Nozzle
- Detach the die head, adapter, or nozzle from the end of the barrel.
- This provides access for screw extraction.
4. Loosen and Disconnect the Screw Drive
- Unbolt the coupling or gearbox connection from the screw shank.
- Mark alignment positions to ensure proper reassembly later.
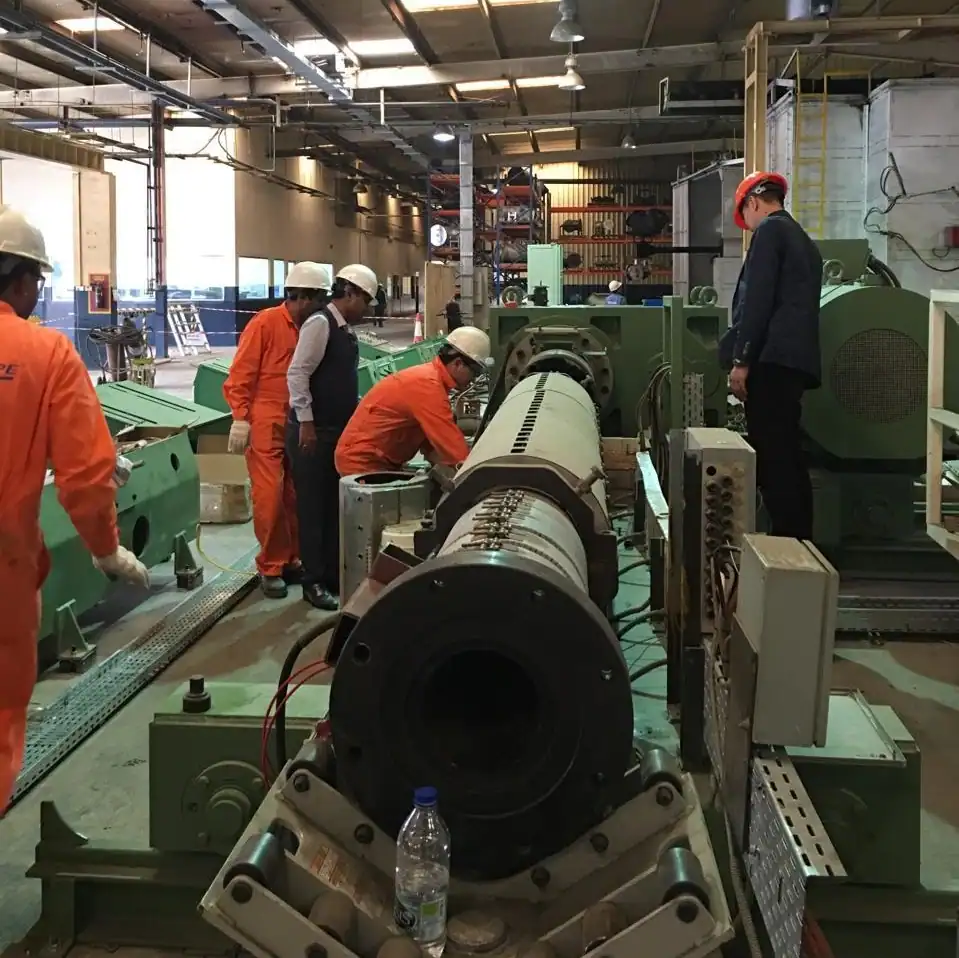
5. Extract the Screw
- Attach a screw puller or crane hook to the screw shank.
- Slowly pull the screw out of the barrel while rotating gently to avoid scoring the bore.
- For long screws (e.g., twin-screw extruders), use a support stand to prevent bending.
6. Inspect and Clean
- Once removed, place the screw on V-blocks or a clean stand.
- Remove carbon deposits using brass tools (avoid steel scrapers).
- Inspect the screw flights and barrel bore for wear, scratches, or corrosion.
7. Reassembly (Optional)
- If reinstalling, apply a thin film of high-temperature grease on the shank.
- Align the gearbox coupling correctly before tightening.
Pro Tips from Industry Experts
- Do not hammer the screw shank — it risks bending and misalignment.
- Keep the barrel warm during extraction to avoid material seizure.
- Use soft metal tools (brass/copper) for cleaning to protect surfaces.
- Schedule screw removal during planned downtime to minimize production loss.
OEMs like Coperion and KraussMaffei recommend scheduled screw removal every few thousand operating hours, depending on the polymer processed. (Coperion maintenance services)
Knowing how to remove extruder screw from barrel is essential for maintaining productivity, reducing wear, and extending the life of your extrusion system. By following the correct steps, you can safely extract the screw, clean it, and reassemble without costly mistakes.
Contact Us for Expert Screw Barrel Support
Zhoushan Juyuan Machinery Co., Ltd.
🌐 Website: https://juyuan-machinery.com/
📧 Email: cxj.job@gmail.com
📱 WhatsApp / Phone: +86 13905808474